Multi-Factor Authentication - Complete Flow Guide
All Three MFA flows(Registration, Login, Profile) documented separately so each can be understood independently. Whether you are a developer, tester etc - each flow below tells you exactly what the user sees and what the system does at every step. Twilio Verify handles all OTP delivery and verification - our system only calls Twilio and redirects based on the result.
Registration Flow
A brand-new user creates their account for the very first time. They fill in their details, set a password, provide a mandatory phone number, and verify that number via an OTP sent by Twilio. Once verified they are redirected to login.
Registration Page
New user fills in their personal details and solves the CAPTCHA to start creating an account.
📄 Page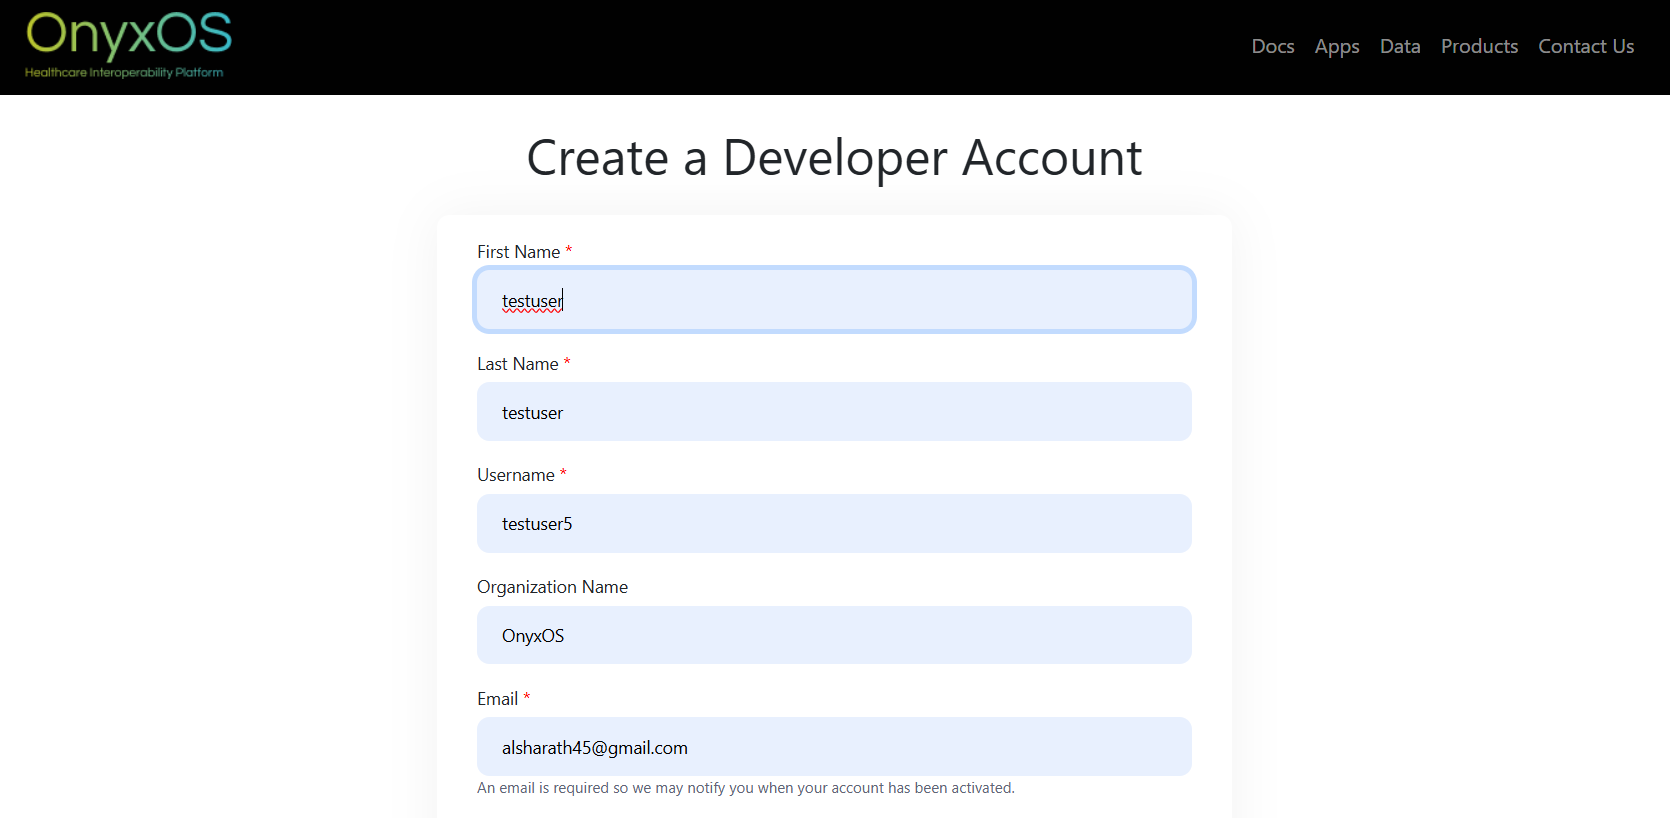
The registration page shows fields for the user's basic details (name, email, etc.) and a CAPTCHA challenge. The user fills everything in and clicks Submit to move to the next step.
Set Password & Phone Number
User sets a password (minimum 8 characters) and a phone number, which is mandatory for MFA.
📄 Page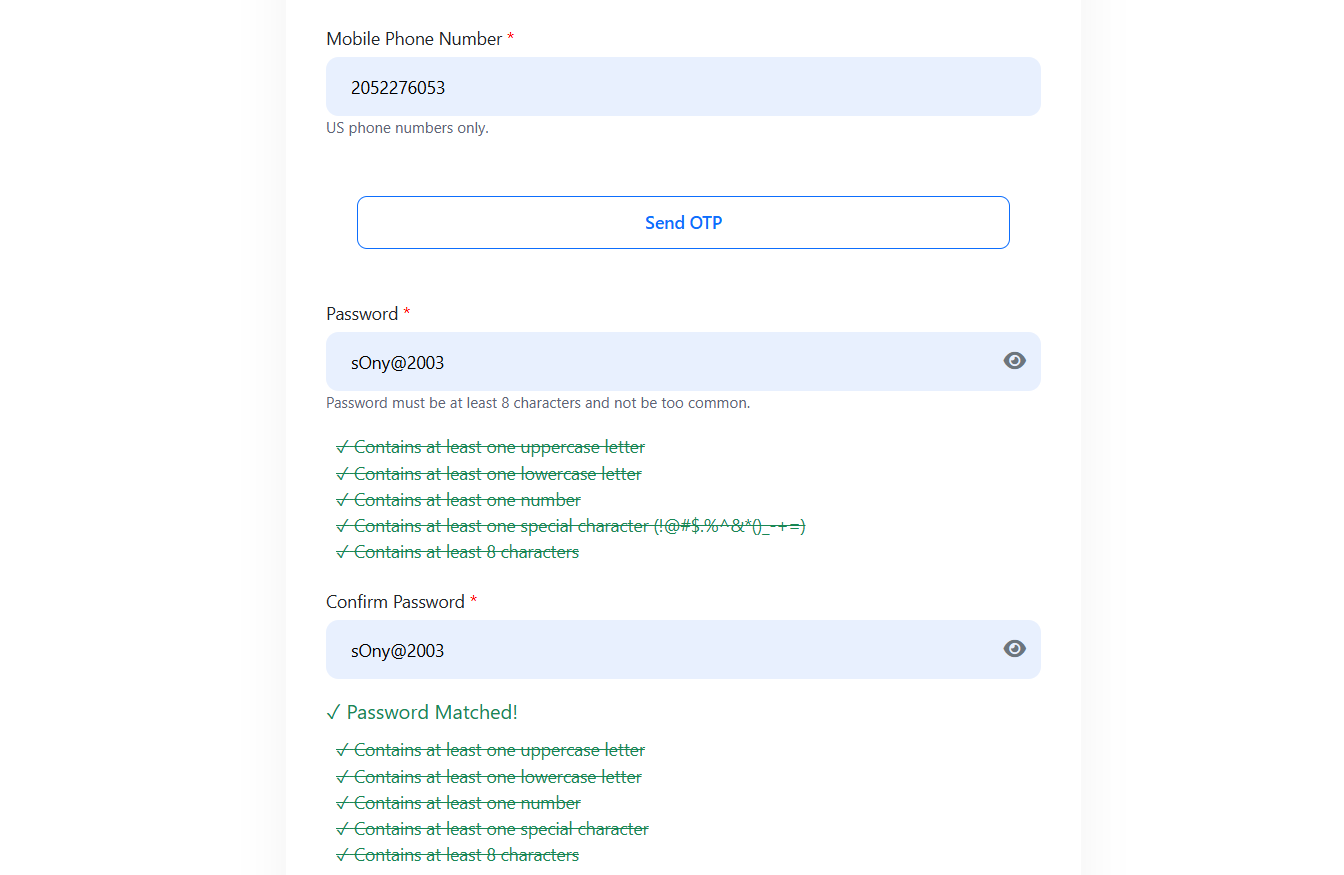
The user is asked to set a password (minimum 8 characters) and enter their phone number. The phone number is mandatory - it will be used for all future MFA verifications. The user fills both fields and clicks Verify.
Click "Send OTP"
System calls Twilio with the phone number. Twilio generates and sends the OTP via SMS.
⚡ Twilio API Call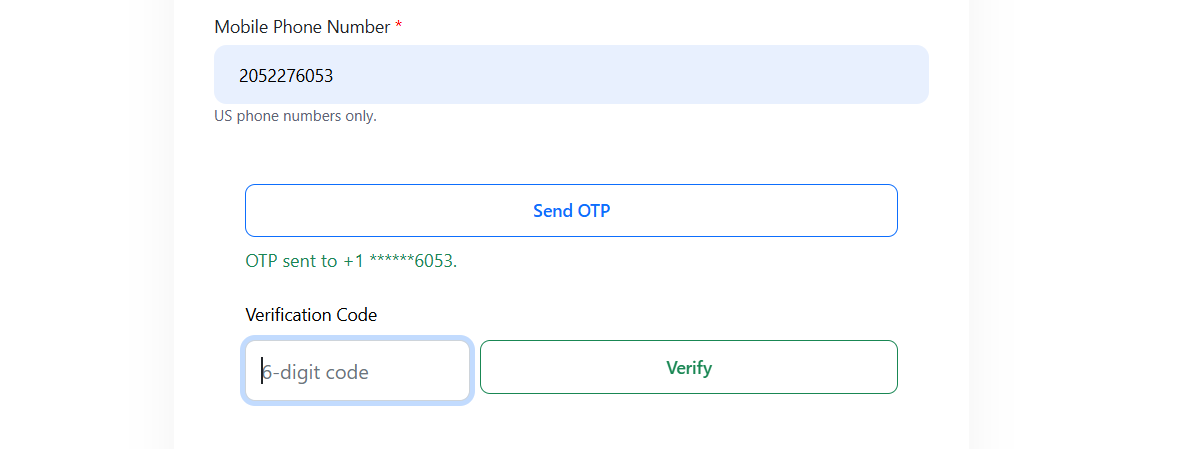
Clicking Generate OTP sends the phone number to the Twilio Verify API. Twilio creates a one-time code, manages its expiry, and sends it to the user's phone via SMS. Our system does not create or store the OTP at any point.
Twilio owns the entire OTP lifecycle - creation, delivery, and expiry. Nothing is stored on our side.
Enter OTP & Click Validate
User types the OTP received via SMS and submits it. Twilio verifies it.
📄 Page
The user enters the OTP received on their phone and clicks Validate. Our system forwards the code to Twilio for verification. Twilio returns either "verified" or "failed" - no OTP logic runs on our backend.
Twilio's response determines what happens next.
Login with Captcha
After phone is verified, user is redirected to the login page to sign in with their new credentials.
📄 Page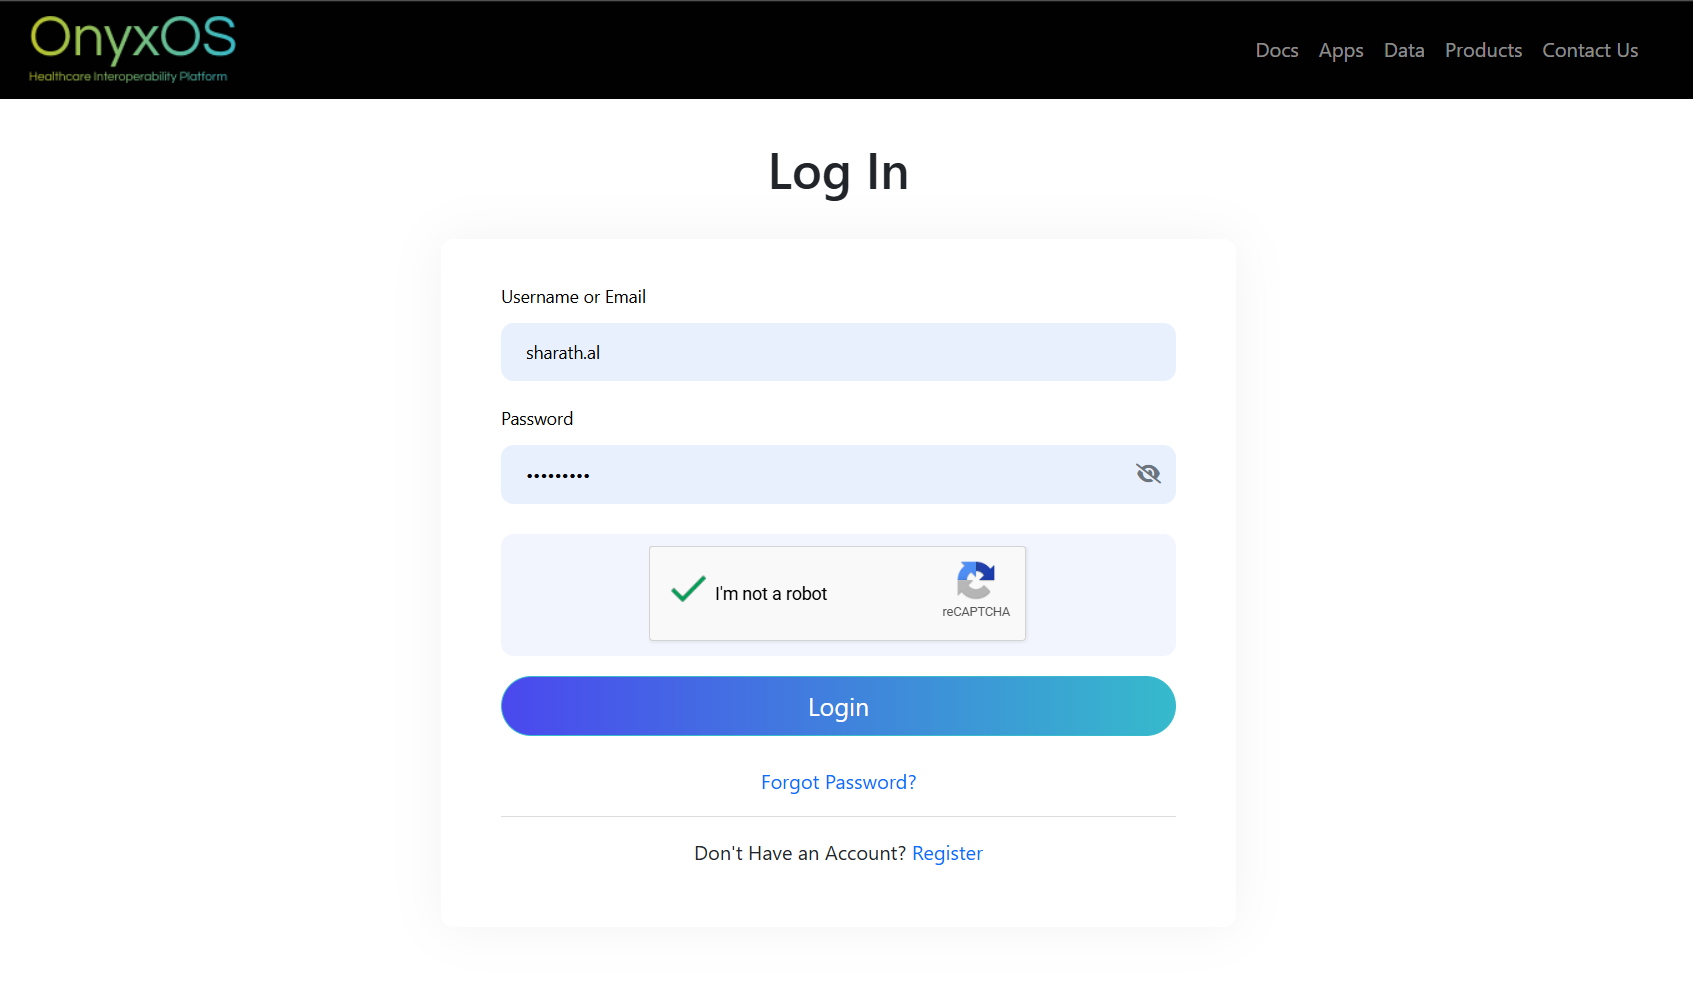
The user is taken to the standard login page. They log in using the username/email and password they just created, along with a CAPTCHA. The Submit button is disabled until the CAPTCHA is solved and all fields are filled.
Select The Method
After Clicking on the Submit Button it will ask to select the method for MFA.
📄 Page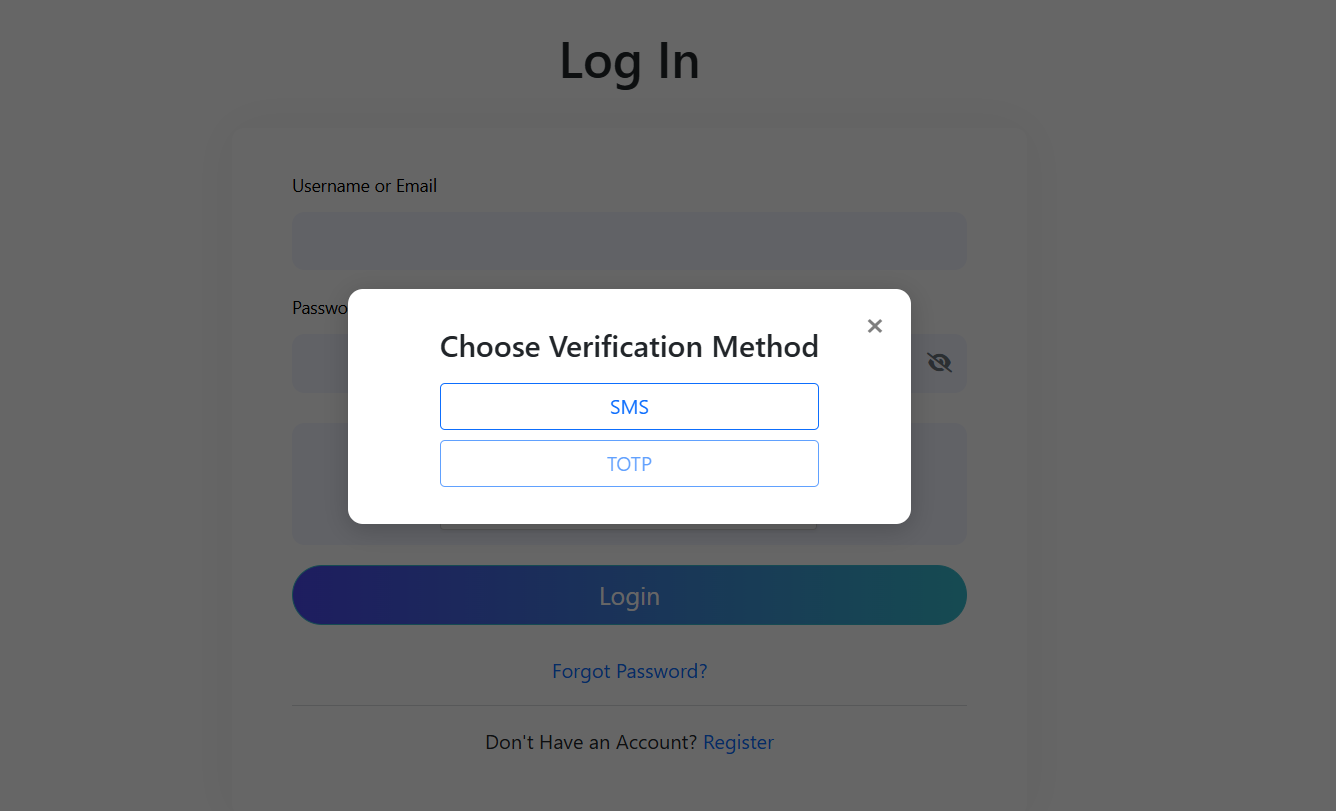
The user is taken to the standard Pop-up to choose the MFA method (SMS/TOTP). once done with selection of the method the OTP will be sending to the registerd mobile number.
Enter The Valid OTP to login
Getting OTP for the registered Phone number.
📄 Page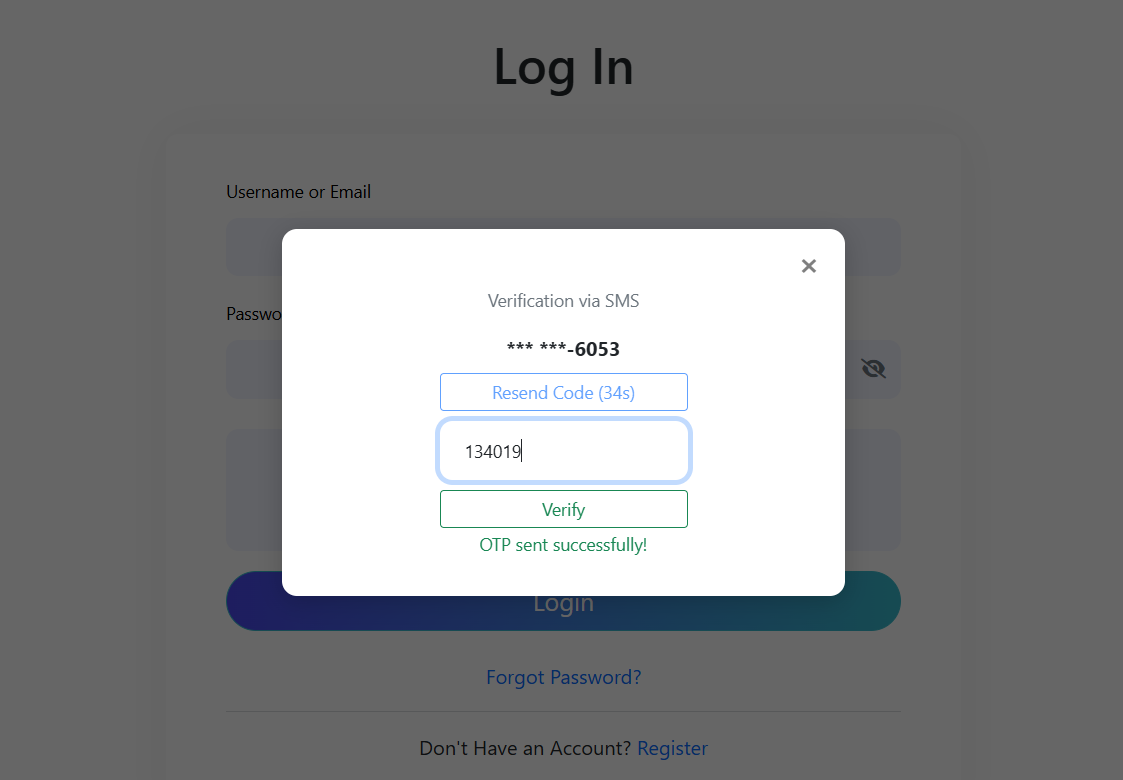
After Cliking to send OTP button user will get the OTP to registered Phone number, after entering the OTP click on the validate button. if the OTP is false then the user will get an error in the same page
Dashboard
Account is fully created and active. User lands on the dashboard for the first time. only after MFA verification
✓ Complete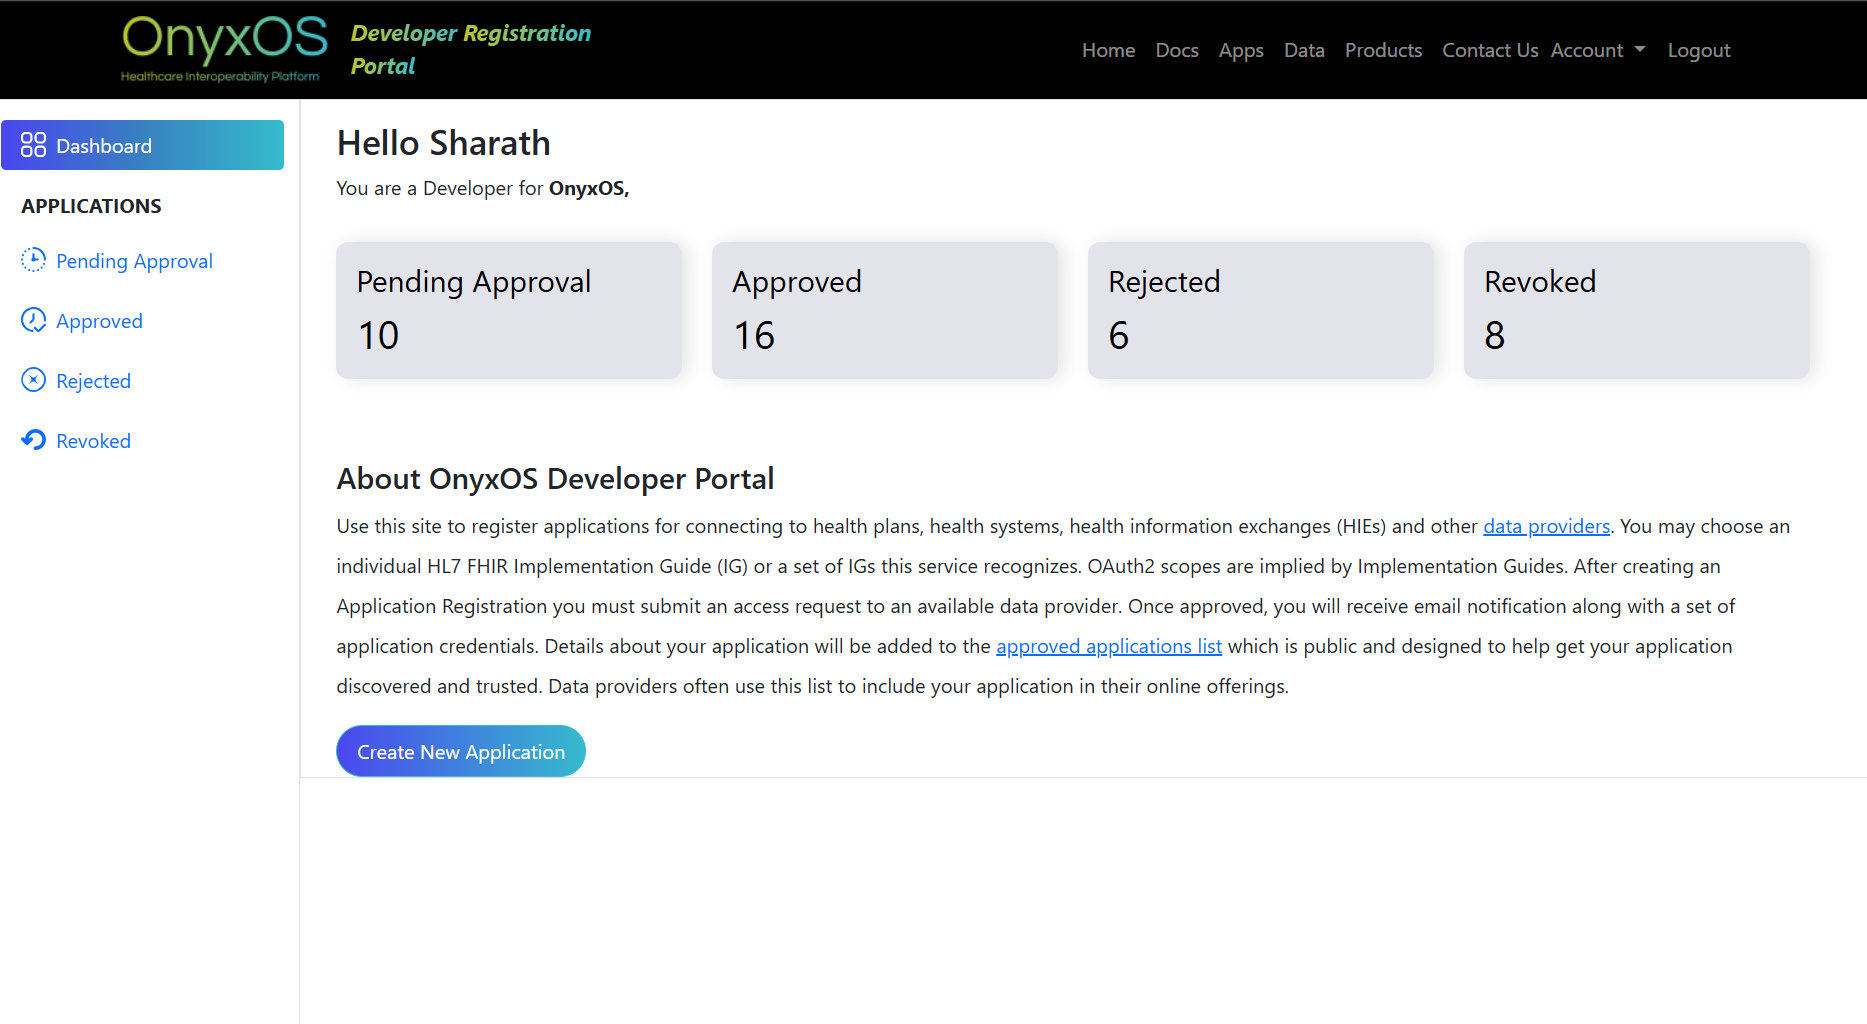
The user reaches the main dashboard. Their account is now active with MFA set up. The phone number is saved in the database. From this point on, every login uses the Existing User Login flow.
Account created. Phone verified via Twilio. MFA active. User can now log in using Flow 2 - Existing User Login.
Existing User Login Flow
A user who has already registered logs in. The system checks the MFA flag in the database. If MFA is already set up (flag = 1), they choose a verification method and go through OTP verification via Twilio. If MFA is not yet set up (flag = 0), a popup appears to set it up first.
Login Page
User enters their username/email, password, and solves the CAPTCHA.
📄 Page
The login page shows a username/email field, password field, and CAPTCHA. After clicking Submit, the system validates the credentials against the database. If they are wrong, an error is shown and the user stays here.
System Checks MFA Flag
Backend reads the MFA flag from the database to decide which path to take.
◇ System DecisionNo screen changes for the user. The system reads the MFA flag stored against this user's account in the database. Based on whether it is 0 (not set up yet) or 1 (already set up), the user is taken down a different path.
"Set Up Two-Factor Authentication" Popup
A popup appears over the login page asking the user to confirm or enter their phone number.
⬜ Popup Modal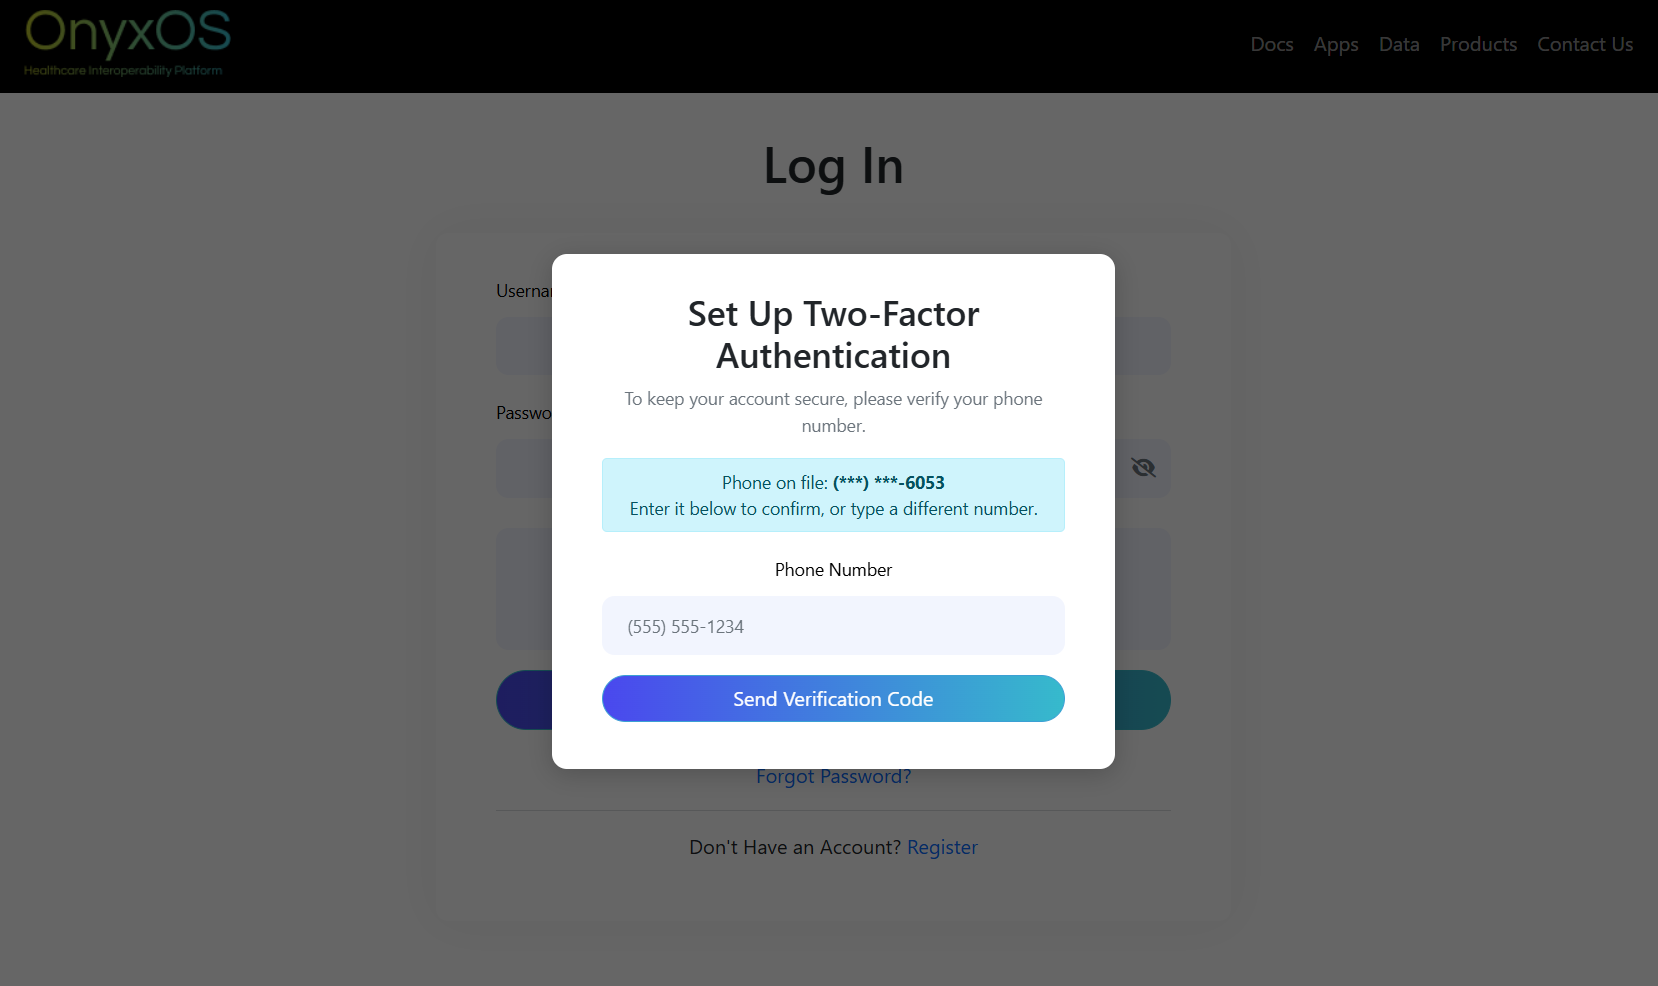
A popup appears with the title "Set Up Two-Factor Authentication". It shows the phone number on file (masked, e.g. (***) ***-6053) and says "Enter it below to confirm, or type a different number." The user confirms the number and clicks "Send Verification Code". This triggers a Twilio API call to send the OTP.
Enter OTP & Validate → MFA Enabled
User enters OTP, Twilio verifies it, system sets MFA flag to 1, user goes to Dashboard.
⚡ Twilio Verifies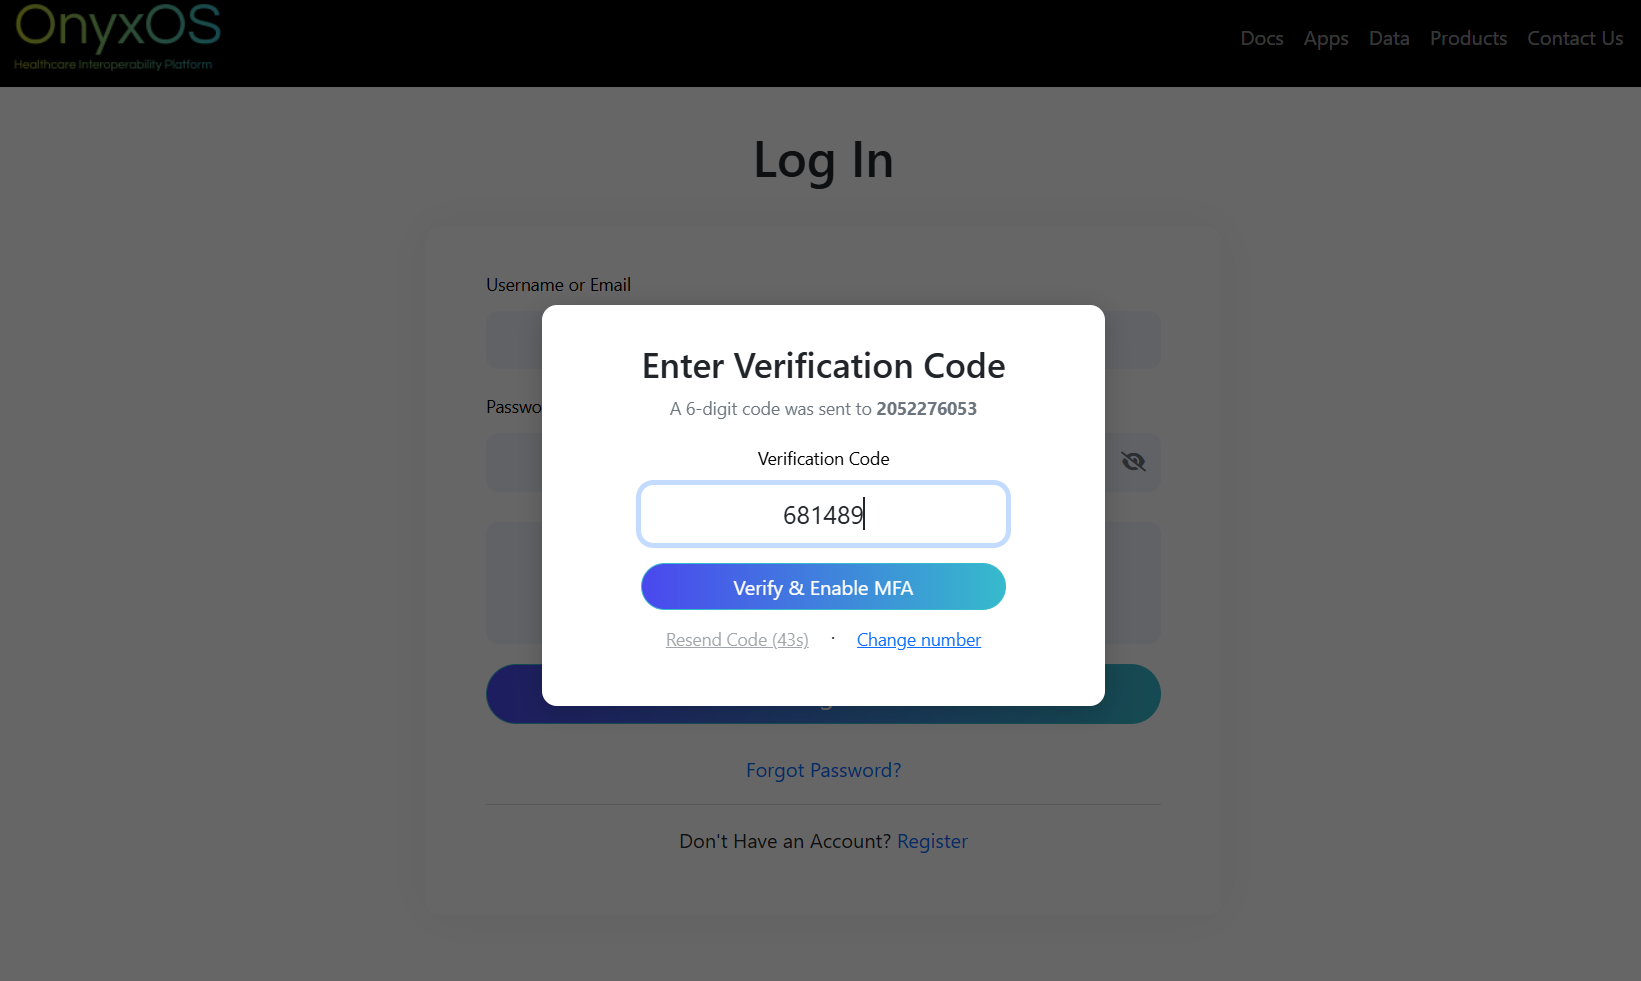
The user enters the OTP received via SMS. Our system sends it to Twilio for verification. If Twilio confirms it is valid, our system sets the MFA flag to 1 in the database and redirects the user to the Dashboard. The user's MFA is now fully set up for all future logins.
Redirect To Dashboard
Once the OTP is valid user goes to Dashboard, otherwise user stays in the same page with an error to re-enter OTP.
⚡ Dashboard
The user enters the OTP received via SMS. Our system sends it to Twilio for verification. If Twilio confirms it is valid, our system sets the MFA flag to 1 in the database and redirects the user to the Dashboard. The user's MFA is now fully set up for all future logins.
OTP verified by Twilio. MFA flag set to 1. User redirected to Dashboard. All future logins will follow Path B below.
Enter the Cred - login Page
User Enters the Registered cred and solves the RECAPTCHA and click on submit button
📄 Page
User should Enter the Valid cred once that is done and after that he should solve the RECAPTCHA then only the Submit button will enable
Choose Verification Method
User picks how they want to receive the OTP - via TOTP app or via SMS.
📄 Page
The user is shown two options: TOTP (via an authenticator app like Google Authenticator) or SMS (OTP sent to their registered phone). The user picks one and proceeds to the OTP Verification Page.
OTP Verification Page
Twilio sends the OTP. User enters it and clicks Validate. Twilio verifies.
📄 Page
The OTP Verification Page shows a code entry field. The user enters the OTP they received and clicks Validate. The code is sent to Twilio for verification. If Twilio says valid → Dashboard. If Twilio says invalid → the page shows an error and the user can re-enter or resend.
Dashboard
Twilio confirmed OTP. User is now logged in and lands on the dashboard.
✓ Complete
Twilio confirmed the OTP. Our system creates a session and redirects the user to the dashboard. The user is fully logged in with MFA verified.
Credentials verified. OTP verified by Twilio. Session created. Full dashboard access granted.
Profile - Change Phone Number Flow
A logged-in user wants to update their phone number from their profile settings. Because the phone number is linked to MFA, the new number must be verified via OTP before the change is saved. This ensures only the real account owner can change the MFA contact.
Profile / Settings Page
The logged-in user navigates to their Profile or Account Settings page.
📄 Page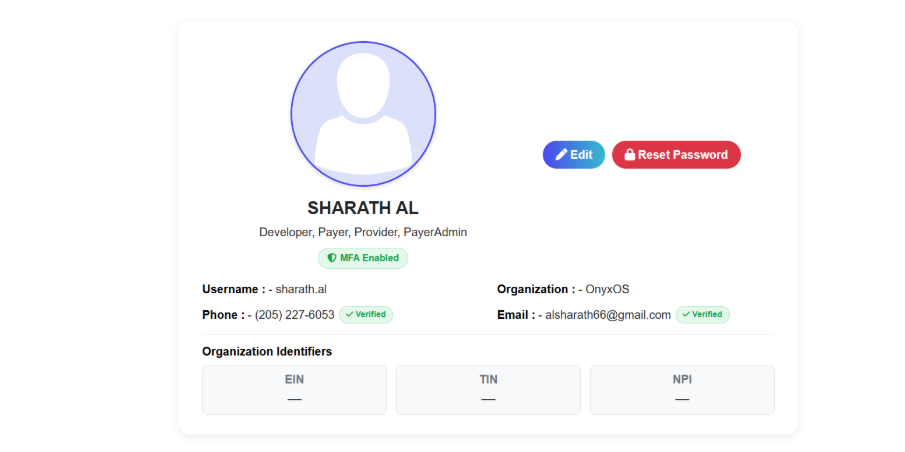
The profile/settings page displays the user's current account information including their current phone number. There is an option to update the phone number. Clicking it takes the user to change form.
Enter New Phone Number
User types in their new phone number and clicks "Send Verification Code".
📄 Page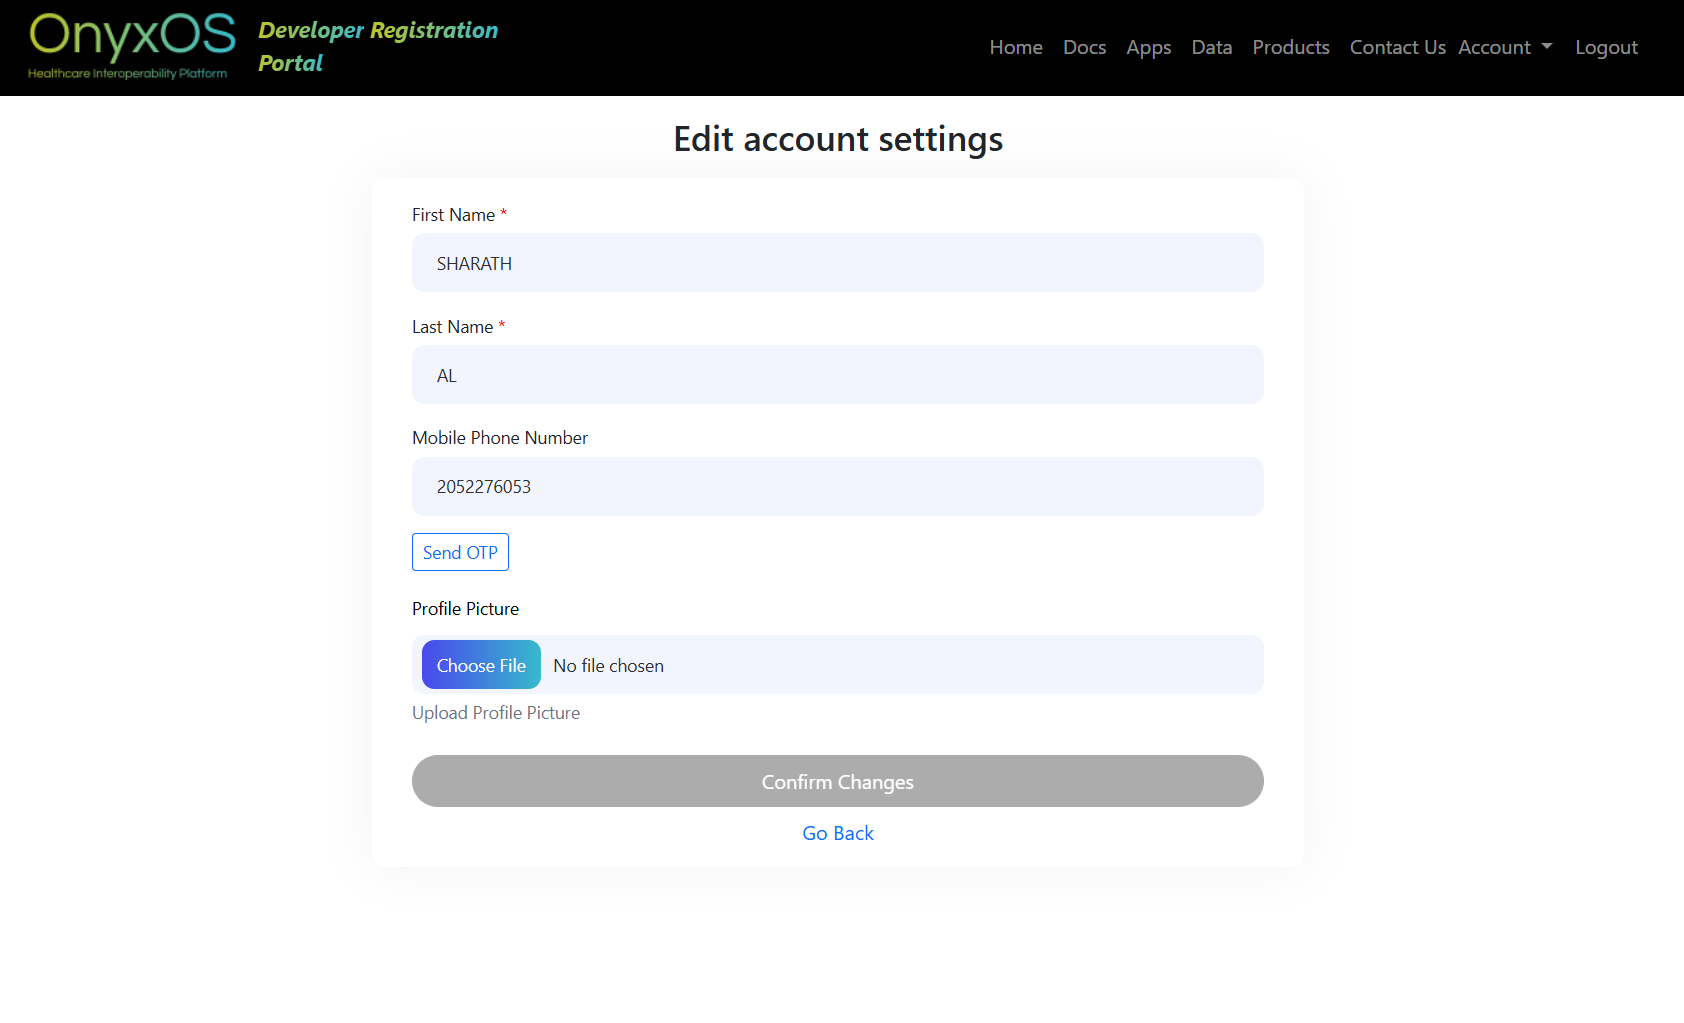
A form appears where the user types their new phone number. The current number is shown above for reference (masked). Once entered, the user clicks "Send Verification Code". This triggers a Twilio API call to send an OTP to the new number to confirm it belongs to the user.
Twilio Sends OTP to New Number
System calls Twilio with the new phone number. Twilio sends a verification OTP via SMS.
⚡ Twilio API Call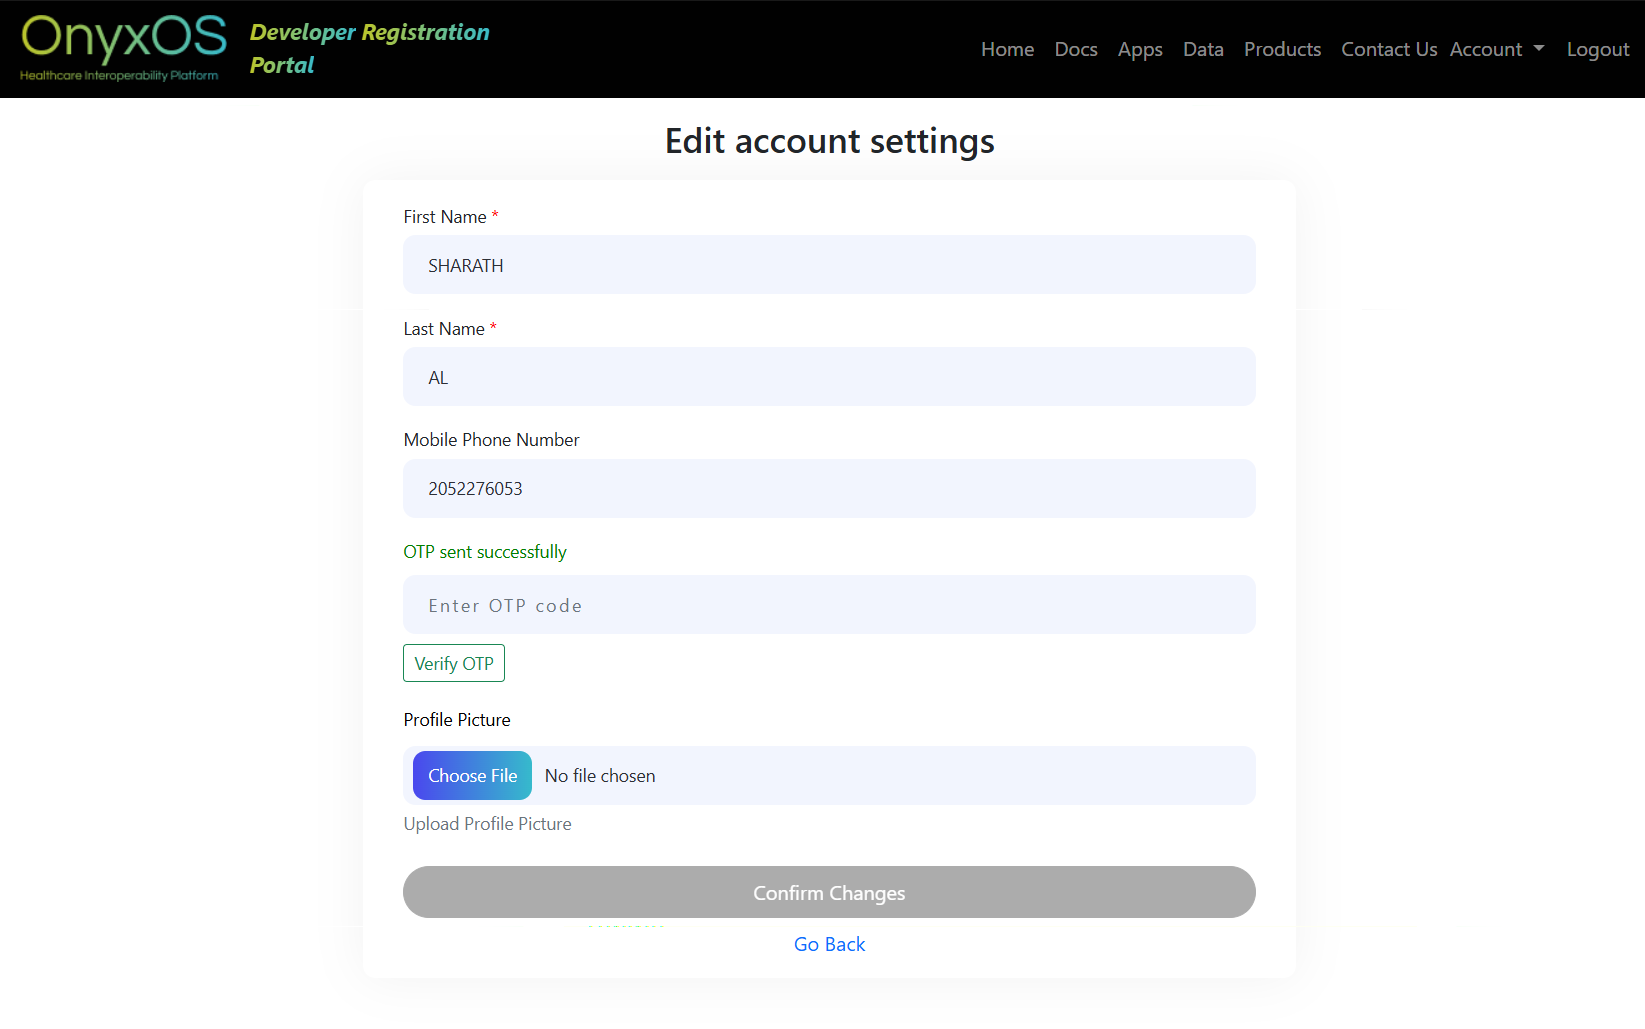
Our system calls the Twilio Verify API with the new phone number. Twilio generates the OTP and sends it to the new number via SMS. The screen confirms that a code has been sent to the new number (shown masked). Our system does not create or store the OTP.
The OTP goes to the new phone number the user just entered - not to the old one. This confirms the user owns the new number.
Enter OTP & Click Validate
User enters the OTP from their new phone and submits it. Twilio verifies it.
📄 Page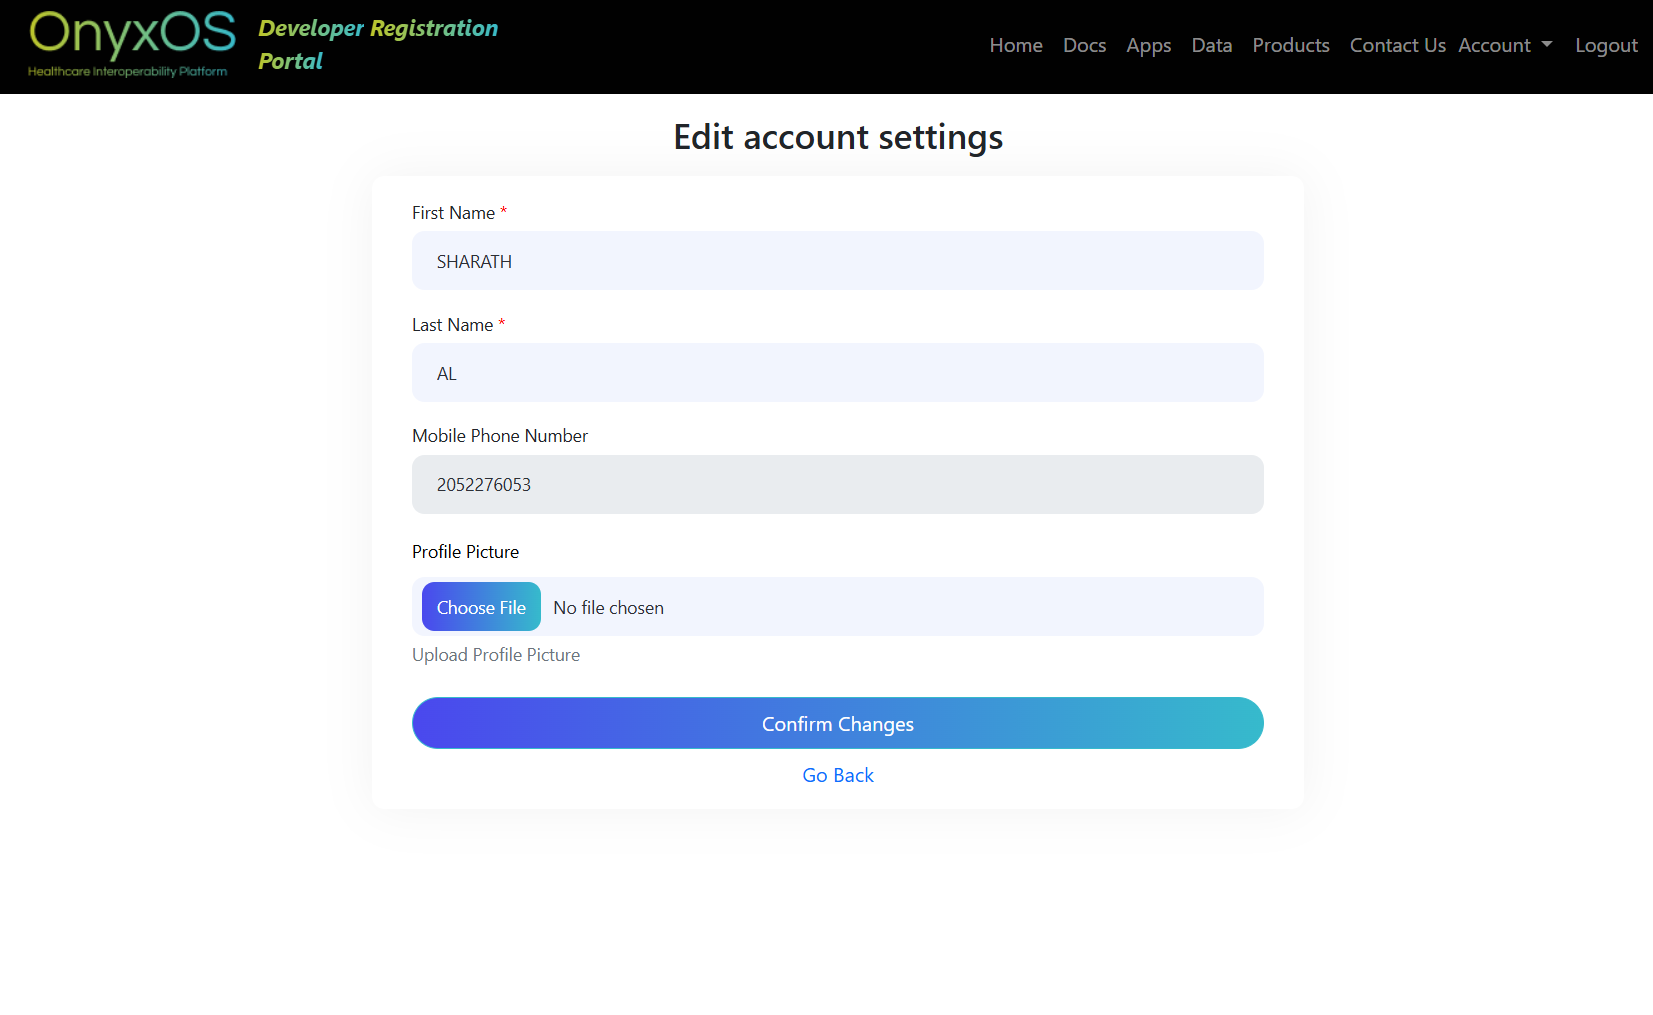
The OTP entry screen is shown. The user checks their new phone for the SMS and types the code into the field, then clicks Varify OTP. Our system sends the code to Twilio. Twilio returns verified or failed. No validation logic on our side. after that once the user click on the confirm Button, the values which is changed will be saved
New Number Saved - Confirmation
Twilio confirmed the OTP. New phone number is saved to the database. User sees a success message.
✓ Complete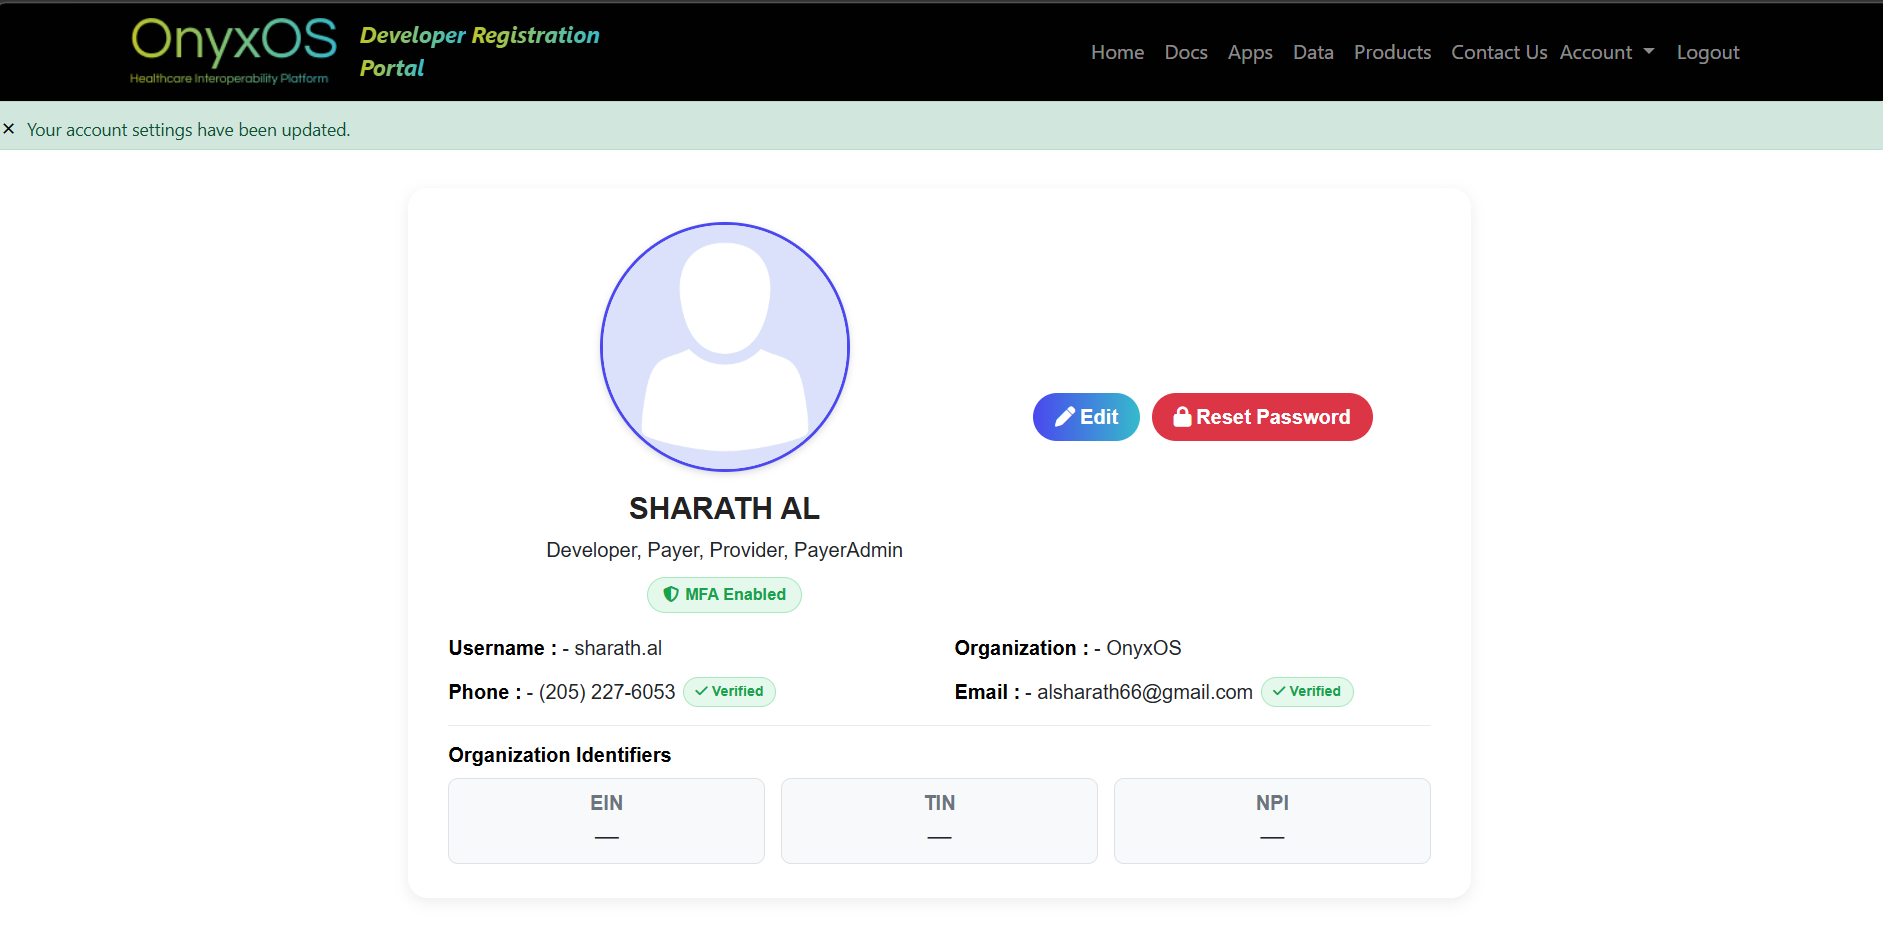
After Twilio confirms the OTP is valid, our system saves the new phone number to the database, replacing the old one. The user is shown a success message confirming their phone number has been updated. This new number will be used for all future MFA OTP deliveries.
OTP verified by Twilio. New phone number saved. All future MFA OTPs will be sent to this new number.